Indian marriages are famous for having a number of rituals. The beauty of an Indian wedding lies in the fact that there are numerous traditions associated with the special celebrations. Lots of laughter, music, and dance are just some of the elements that hold aloft the beauty of an Indian wedding.
Among the numerous traditions associated with these weddings, the mehndi ceremony is probably the most prominent. This is when the brides, and in some cases the grooms, apply mehndi on their hands and feet. While the groom needs to stay happy with a token design, the brides are given an elaborate treatment.
The significance of mehndi
According to popular belief, mehndi is a representation of the bond of matrimony existent between couples and is thus regarded as a sign of good luck. It signifies the love and affection prevalent between them and their immediate families. Some of the popular beliefs associated with a mehndi tradition are as follows:
- The darkness of the color of the mehndi on the bride’s hands is a representation of the deep love existing between the would-be-couple.
- The color of the mehndi also reflects the love and understanding the bride shares with her mother-in-law.
- Longer the mehndi color stays on, more auspicious it proves to be for the newlyweds.
How to make mehndi at home?
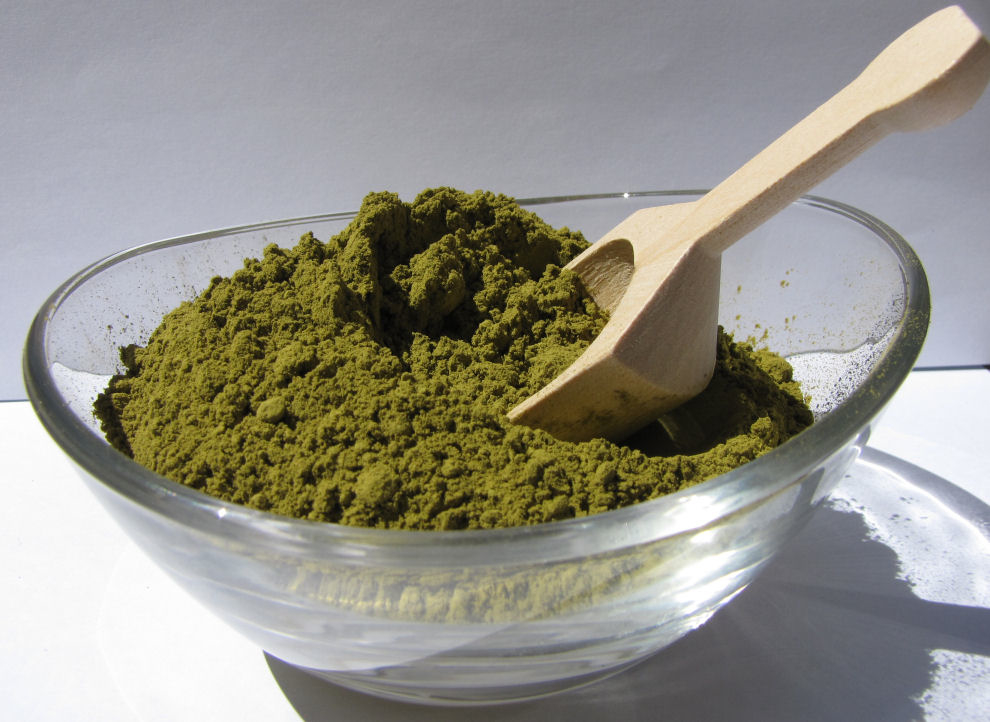
Henna, the main constituent for a mehndi paste, is usually sold in the form of a dry powder. It is usually prepared by drying, milling, and sifting the leaves of the henna plant. This powder needs to be blended with strong tea, lemon juice, or other liquids that have an acidic content so that the silky smooth consistency is obtained.
Henna paste should ideally be allowed to stand for twenty-four hours so that the dye is released. Essential oils that contain a high level of monoterpene alcohol such as eucalyptus, cajeput, lavender, and tea tree can be added to the henna paste so as to produce a dark color. This paste can now be applied to the palms and feet of the bride for creating intricate designs using cones.
 |
| Source: Magicalmehndi |
In case you don’t wish to prepare cones at home, ready-made cones are readily available in the market.
Modernization of the mehndi designs
The traditional mehndi patterns have become intensely intricate and decorative over time. Today, there are a large number of mehndi patterns to choose from such as Arabic, Rajasthan and black mehndi designs. Besides, you have the choice of jazzing up a simple design using crystals, beads etc.

 |
| Source: Pinterest |
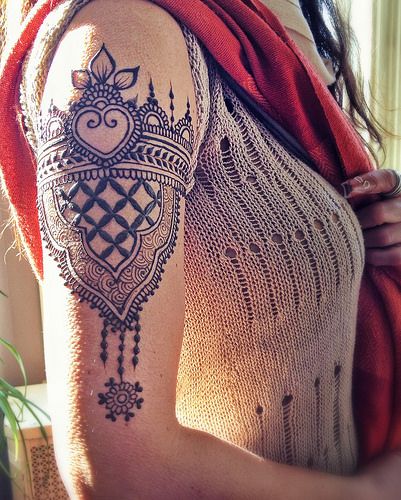
Dulha Dulhan and Shehnai designs are particularly popular amongst brides. But if you are a modern bride, you might just want to try out some awesome arm tattoos for your big day!
 |
| Source: hennadesigns |
Applying a mehndi and getting a design right may sound very easy but is far from being so! You need a lot of effort and practice before you can get it right. It is thus advisable that you try out the design on rough to see if you have mastered it perfectly before you go ahead and apply it for the big occasion.
In case you find it too tedious to do the designs yourself, you can hire professional artists, or just follow one among the hundreds of tutorials available online, right at your fingertips.
Mehndi designs on feet
Doing a bridal mehndi pattern for the feet is not much different from any other conventional form of mehndi design. While we are used to seeing the hands and arms being covered by such designs it is not unusual to have mehndi art on one’s legs and feet. This design can be in coordination of what you have on your hands or have a totally different look and feel to it. Either way, dainty feet and delicate ankles brandishing traditional mehndi designs with a pair of toe rings and an anklet makes for a complete bridal look.
Over the course of the wedding celebrations, there will be numerous occasions when the bride will be called upon for exposing her feet and ankles. Having a great bridal mehndi pattern gracing her feet will help in bringing the whole look together and complement her ensemble of jewelry and makeup.
Before you get started
Here are some helpful tips to ensure that you are fully prepared before applying the bridal mehndi design on your hands. Trust me, following these tips will make life a whole lot easier for you.
- Make sure you finalize the design way earlier, so as to avoid any last-minute confusion. If you are unsure of which design you want to adorn your hands with, you can just refer to designs available online in the form of images and videos.
- You should ideally get the bridal mehndi done a couple of days before the wedding day since the henna will require around 48 uneventful hours to produce the darkest possible stain.
- It is not a good idea to exfoliate before the mehndi is applied. More the number of skin layers, better will be the absorption of the henna.
- All your manicure, pedicure, and waxing should be done before the mehndi is applied, as they impact the longevity and stain of the design. If your preference is for shaving over waxing, do so lightly in order to avoid razor burns or open wounds. Also, the harsh chemicals used in these manicures and pedicures can prevent the stain from developing so you won’t get the guarantee of a suitably bright bridal mehndi pattern.
- Avoid the use of any lotions before applying the mehndi and for another couple of days after you have applied it so that it does not interfere with the stain.
After Application Care – How to Make Sure Your Mehndi Stays for Long
Once the mehndidries off, dab it with a solution of lemon juice and sugar which helps in increasing the intensity of the mehndi color. The dried henna will slowly fall off from the hand and leave behind an orange hue that slowly turns into reddish brown. The remainder of the dried paste can be scraped off from the hand using the blunt edge of a knife.
Chlorinated water and soap solutions should be avoided at all costs as they hinder the darkening of the mehndi color. After applying the mehndi, you can steam or warm your hands to give a darker color to the design. It is best to make the henna paste at home for creating mehndi designs and tattoos on your hands and feet. This way, you can keep yourself from harm of the harsh chemicals that are predominant in the readymade cones you get in the market.
Disclaimer: This is a guest post by Nitika Awasthi


